giovedì 27 novembre 2014

How to make a Paper Button

Ultimamente sto usando in alcuni progetti i bottoni hand made (ok sì....è un'altra fissa...).
Si tratta di bottoni di metallo che vendono sia in merceria oppure on line e che possono essere rivestiti con tessuto (già stupendo questo!).  Recentemente ho trovato dei tutorial americani che mostravano come rivestirli anche con la carta e subito ho voluto provare anche io.....quindi non è una mia idea, ma l'ho subito sposata!!
Vi mostro come si fanno, è semplicissimo!
Serve uno di questi aggeggi: la pinza I-top oppure uno dei due cazzabubboli che vedete sulla sinistra (lo so che qst termine tecnico è approssimativo ma ho l'impressione che sarò capito lo stesso).
Si tratta comunque dello stesso procedimento, ovvero una cavità in cui inserire il bottone e l'altra (più piccola) che serve per spingere sul retro il fondo del bottone.

Lately I've used hand made buttons in some projects (ok yes .... is another addiction...).
They are  metal buttons, sold in haberdashery or by online shop, that can be covered with fabric (this already gorgeous!). Recently I found American tutorials showing that even cover them with paper and I immediately wanted to try it ..... so it's not my idea, but I immediately loved it!!
I show you how to do, it's easy!
You need one of these materials:


Qui ho usato l'aggeggino più semplice.
Si taglia un pezzo di carta, un po' più grande del bottone. Si taglia un pezzo di carta forno più grande ancora.
 
Cut a piece of paper, a bit largest of the button. Cut a piece of oven paper even bigger.


Si inumidisce la carta usando uno spruzzino o della carta assorbente bagnata.
Wet the paper using a spray or wet paper towels.


Si inserisce nella cavità la carta forno, la carta e il tappo in questo modo, schiacciando semplicemente con un dito.
Put into the cavity in order oven paper, the paper and the cap in this way, simply pressing with a finger.


Si spingono verso l'interno i bordi della carta che avanza con un qualsiasi strumento un po' appuntito (io ho usato il fondo di un pennello).
Push the paper edges inside edges with any pointes instrument (I used the bottom of a brush).


Si appoggia sopra il retro del bottone (esistono retri piatti, oppure con i buchi o anche a spilla) e si preme con il tappino.
Put the back of the button and press with the cap.


Si toglie il tappo tirando la carta forno.
Remove the cap pulling the oven paper.


Ed ecco qui! Sembra di tessuto....e invece è di carta, magari perfetto per un progetto in cui abbiamo usato quello stesso foglio!
And here it is! Seems fabric.... and instead is paper, maybe perfect for a project in which we used the same sheet!


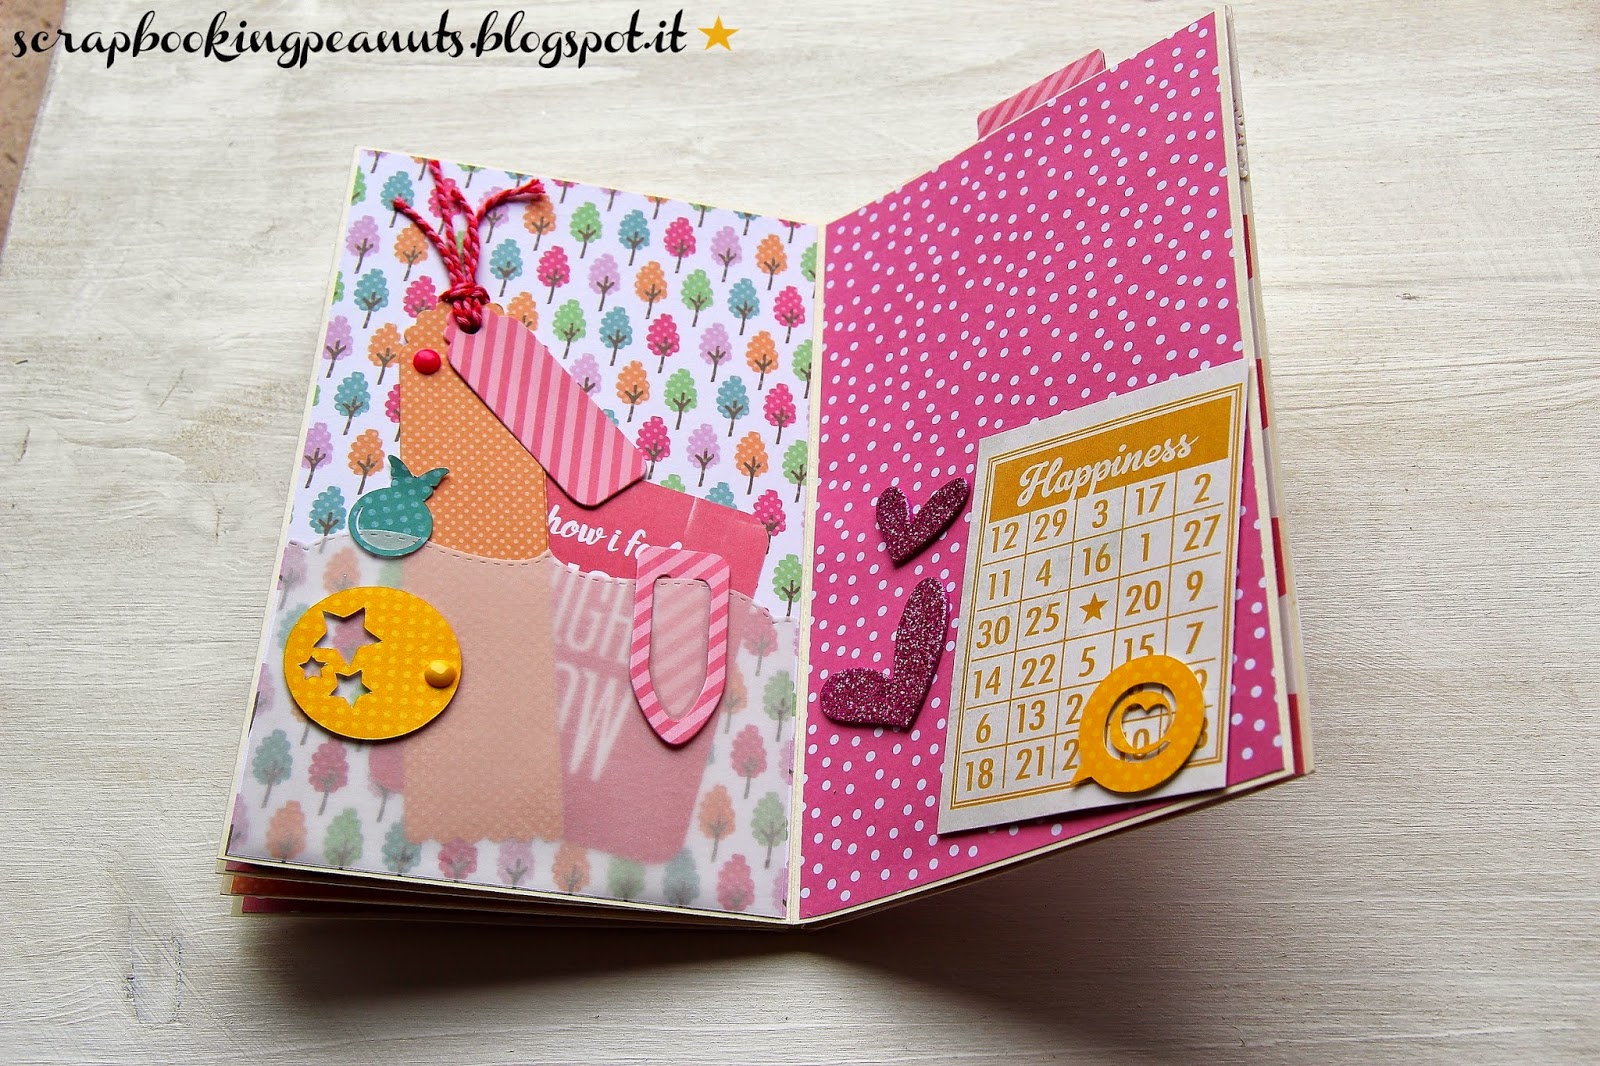
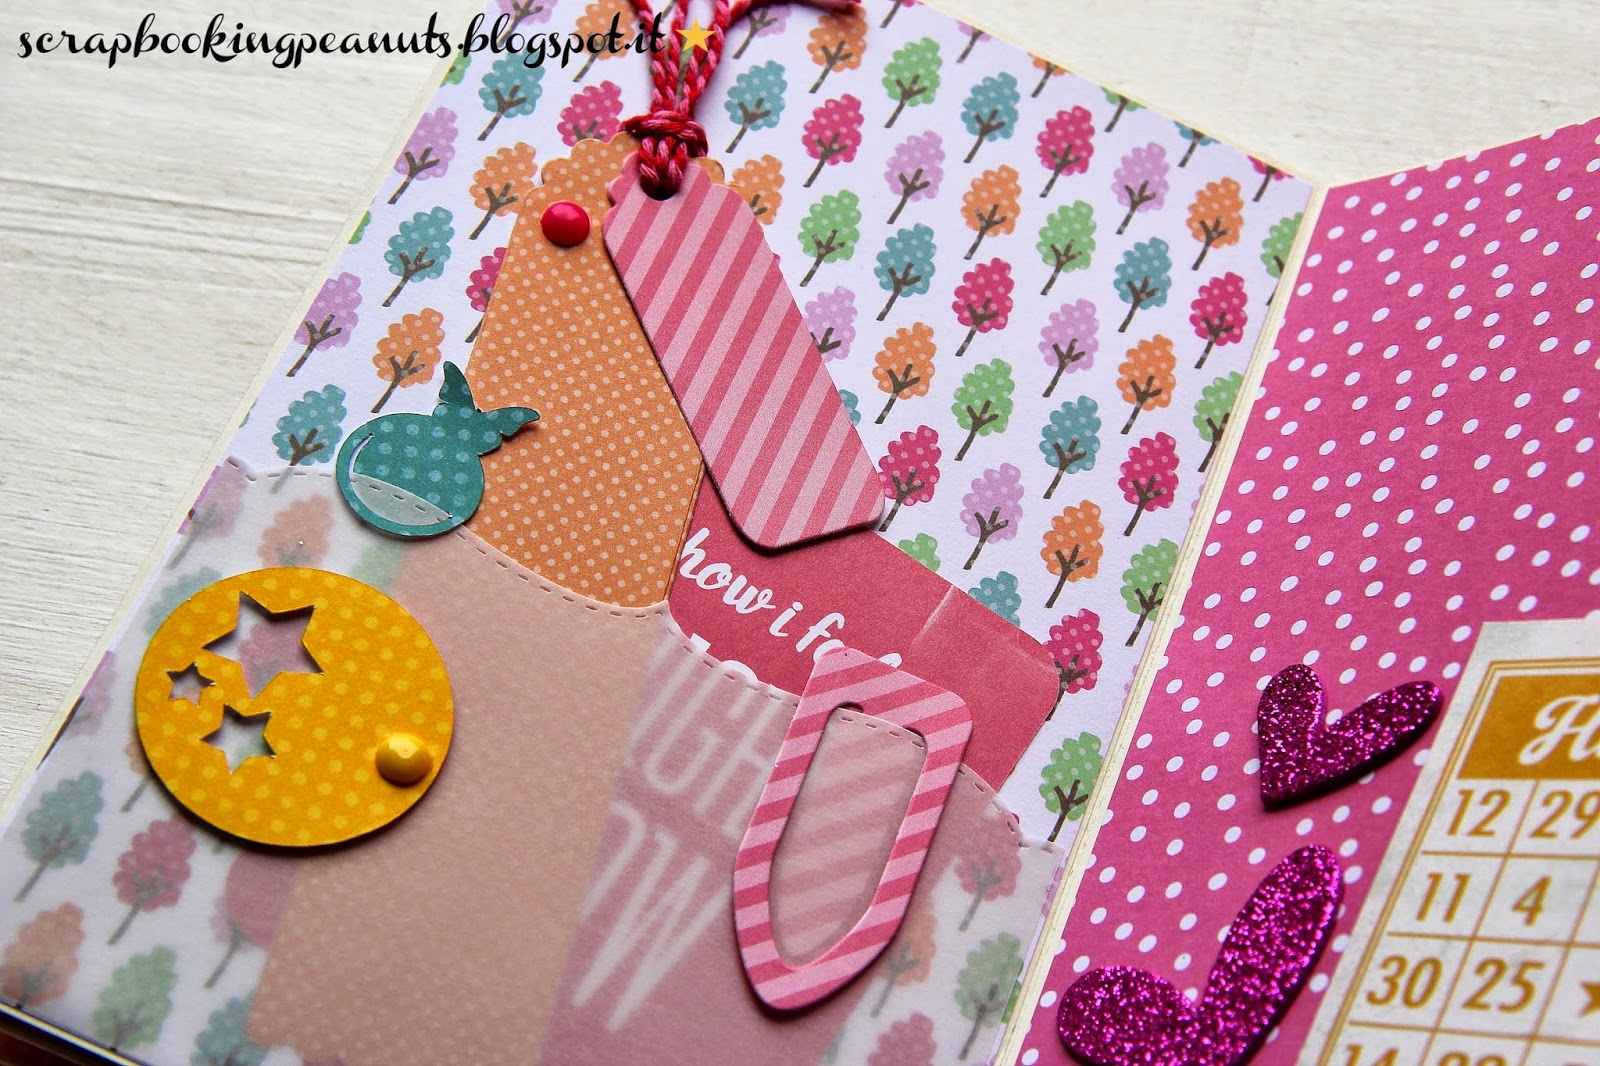
Questo è un altro esempio in cui ho usato la carta che mi è avanzata dal progetto del post precedente!
This is another example where I used the paper left from the previous post!


Altro esempio, il bottone che ho usato qui, il più grosso....è sempre fatto di carta.
Lo so...non è l'America....ma a me questi bottoni fanno impazzire!
 
Another example, the button that I used here, the biggest .... is always made of paper.
I'm crazy for the paper buttons!!

lunedì 24 novembre 2014

Special Paper

Da quando ho scoperto lo scrapbooking per me la carta è quasi un abito. Un vestito da scegliere con cura che deve essere adatto all'occasione....e come per alcuni abiti, li si guarda nell'armadio e non si ha mai il coraggio di indossarli perché si ha quasi il timore di sciuparli.
Ecco, spesso mi trovo (come una pazza, ma so per certo di non essere sola....chi avrà il coraggio di dirlo? daiiiii) a contemplare i miei blocchi di carta come facevo con gli album delle figurine da piccola...li sfogliavo ammaliata....
Ecco che le carte della graphic ad esempio hanno questo effetto su di me...ma ultimamente ho deciso che la carta ha uno scopo: vestire un progetto, in fondo l'ho presa per questo. E quindi non sarà mai sprecata....soprattutto per persone speciali! Come patty, donna di cuore enorme e di intelligenza delicata che adoro ascoltare con serenità, quella che riesce sempre a trasmettermi.
Meritavi una carta speciale. Anzi, meriteresti tutto il blocco, tutte le collezioni.

Since I discovered scrapbooking for me the paper is almost a dress. A dress to choose carefully to be appropriate for the occasion .... and as for some clothes, you look them in the closet and you never have the courage to wear because you have almost the fear of waste them.
Yes, I contemplate often (like crazy, but I know for sure I am not alone .... who has the courage to say it? ) my pads of paper ... I admire fascinated....
the papers of Graphic 45 for example have this effect on me ... but lately I've decided that the paper has a purpose: dress a project, after all I got for it. And then it will never be wasted....especially for special people! As patty, woman of great heart and delicate intelligence that I love listening with serenity, that always transmits to me.
She Deserve a a special paper. Indeed, she deserves all the collections.


Con questa card partecipo a:
I participate to this challenge:
: http://curtaincallchallenge.blogspot.it/2014/11/curtain-call-inspiration-challenge-pin.html


lunedì 17 novembre 2014

Fresh Memories

Sono reduce da un meeting Asi e quindi sono ancora eletrizzata!! Ieri progetto bellissimo, tante amiche, volti famigliari e altri meno ma quel clima quasi "di paese" dove tutte si conoscono anche solo di vista e mentre ti presti il timbro o ti scambi un inchiostro sembra che tutto sia normale e quotidiano.
Mi piace quest'atmosfera.....mi piace chiedere "ma tu a che punto sei", o " e questo come si fa, me lo spieghi?" come se fossimo tutte a scuola durante un compito!
Comunque, oggi sono così, piena di bei ricordi e con un progetto da finire....perché io sono leeeeeentaaaaaaa!!!
E intanto pubblico questo mini album, consegnato la settimana scorsa per una ragazzina speciale....come la mamma e come chi me l'ha commissionato....

Yesterday was a great day with friends, projects, stamps and colors! I was at the meeting asi, the National Association of scrapbooking and it was a great time!
Today I want to share this mini album for a young special girl!


martedì 11 novembre 2014

Acrylic Experiments 2!

Puntata 2 con gli esperimenti acrilici....piano pianissimo mi muovo in questo universo che contemplo da lontano.....intanto pastrocchio!
Anche questa card è stata realizzata con le paste del precedente post: cartoncino embossato, uno strato di color tortora, poi sopra uno strato di colore bianco....e una volta asciutto si passa con un panno e della cera e succede questo! in pratica con la cera si toglie il secondo strato ma non in maniera uniforme lasciando questo effetto molto vissuto.
Ho aggiunto qualche fiore e un bottone rivestito di carta, un'altra mia nuova passione!
ho capito che questi colori possono essere davvero interessanti....quindi presto sicuramente farò qualche altro pataccone!!
con questo progetto partecipo al challenge di
http://theshabbytearoom.blogspot.it/
e al challenge del gruppo:
https://www.facebook.com/groups/592494390841195/

Episode number 2 with acrylic experiments.... I move very slowly in this universe that I contemplate from far ..... meanwhile I try.
Also this card has been made with paste of the previous post: embossed paper, a layer of gray color, then a layer of white .... and once dried I use a wax and here it is! in practice with the wax I removed the second layer but not in a uniform way leaving this very vintage effect.
I added some flowers and a button covered with paper, another of my new passion!
I understand that these colors can be really interesting .... so soon I will do sure some other experiments!!
With this project I participate in the challenge of http://theshabbytearoom.blogspot.it/

and https://www.facebook.com/groups/592494390841195/


giovedì 6 novembre 2014

Acrylic Experiment

In fiera a Milano e poi successivamente a Vicenza, dalle super sorelle di Futura Premana, ho preso delle paste per colorare legno e carta.
Ne sono rimasta affascinata anche se io non ho mai provato seriamente ad usare materiali di questo tipo. Però qualche esperimento lo sto facendo, su cartoncino embossato, e inizio a prenderci confidenza.
La prima tag è stata coperta solo da uno strato di acrilico bianco che assomiglia molto al gesso come effetto finale, anche se resta meno in rilievo.
La seconda è stata coperta (come mi hanno insegnato in fiera) con due strati di colori diversi (prima il grigio e poi il bianco) che successivamente ho trattato con una cera, dando questo effetto vintage, quasi marmoreo. Bè, non vedo l'ora di pastrocchiare ancora con questi colori, mi sono divertita!!
Entrambi sono tag realizzate senza l'uso di fustelle....sono solo file grafici di Valentina's Creations che ho tagliato e incollato con adesivo spessorato e il risultato mi sembra interessante anche senza girare manovelle....ah ah ah!!
La prima tag è il progetto realizzato come DT per il challenge di Storie di timbri carta e..... e il premio di questo mese è proprio un kit a scelta di Valentina's Creations!!

At the fairs in Milan and then later in Vicenza, I bought some acrylic colors for wood and paper.
I was fascinated though I never seriously tried to use such materials. But I'm doing some experiments, on embossed paper, and I starting to approach.
The first tag was covered only by a layer of white color that is very similar to gesso as final effect, although it remains less in relief.
The second was covered with two layers of different colors (first gray and then white) that I subsequently treated with a wax, giving this vintage and Marble effect. Well, I can not wait to enjoy again with these colors!!
Both tags are made without the use of dies .... just graphic files of Valentina's Creations that I cut and pasted with adhesive and the result seems interesting without turning crank of Big Shot!!
The first tag is the project made as DT for Storie di Timbri carta e...challenge and the prize, this month, is just a kit of your choice by Valentina's Creations !!